|
by Ashley Fagan  There is something about a cozy bowl of soup that warms your soul on those cool nights as the season changes from Winter to Spring. If I’m being totally honest, I could eat soup during every season. It may be my favorite things to eat. Comforting, nostalgic, delicious, easy, and usually pretty healthy, if you consider all the veg and nutritious broth you’re adding. This soup is truly something special. I was inspired to make this soup by an idea, if my Grandmother were to make a soup, what would it look like? Veg, rich stock, and definitely meatballs! It would have to be healthy yet hearty, and evoke a sense of comfort. It would taste like coming home. The first time I made this, my husband James proclaimed it to be his new favorite meal, and that’s saying something as he’s been my tried-and-true recipe tester for the last 17 years! He has requested this soup weekly throughout the cold winter months, but I decided to post it now as cabbage is very popular in March due to the St. Patrick’s Day holiday. There is also an abundance of Spring produce now available at the market. Whether you’re still living in the brisk days of Winter, transitioning into the cool days of Spring or just looking for a comforting meal, this soup will surely bring you all the cozy vibes! For the Pork Meatballs
For the Cabbage Soup
For the Meatballs Preheat your oven to 375 degrees and line a rimmed baking sheet with a piece of parchment paper. Use a large bowl and place the slices of white bread in the bottom then pour over the milk. Let it sit for a few minutes while you prep the other ingredients. Add the grated parmesan cheese, parsley, egg, salt and pepper and stir together. Add the ground pork and mix with your hands until well combined but, be careful not to overmix as this will make your meatballs tough. Using a cookie scoop or a tablespoon, measure your pork mixture to form uniform portions into round meatballs. I scoop the mixture into my hands, give it a slight roll, and place it directly onto the parchment lined baking sheet. Continue this process until you have used all the pork. Bake for 25 minutes then set aside. For the Soup While the meatballs are baking, heat a large Dutch oven or soup pot over medium heat. Add the olive oil and heat until shimmering then add the onion and Sautee for 5 minutes until it becomes translucent. Next, add the cabbage, salt and pepper. It will seem that your pot it completely full but the cabbage with reduce quite a bit as it cooks and releases its water. Continue to stir and cook until the cabbage has reduced by half its original volume, about 10-15 minutes. Add the garlic and rosemary and continue to stir occasionally for 3-5 minutes. Reduce the heat to low and place the lid on the pot. Let the cabbage continue to cook for another 30 minutes or until it becomes very tender. Once the cabbage has cooked down and has become soft and sweet, stir in the vinegar. Taste and adjust for seasoning. You may find you want more vinegar, salt or pepper. Add the chicken stock and bring the soup back to a simmer. Stir in the rice and add your parmesan rind. Place the lid back on the pot, reduce the heat to low and simmer gently for 15 minutes. After 15 minutes, gently place the meatballs into the pot and continue to simmer with the lid off for another 15 minutes. The soup can be served immediately, or you can let it cool completely and store in the fridge for up to 5 days. It gets better each day it sits. Reheat before serving and add additional grated parmesan if you like. Enjoy!
0 Comments
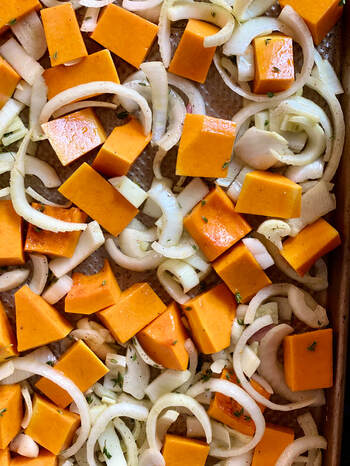
 Would it even be Fall if I didn’t give you a new soup recipe? Of course, it would, but I felt you needed another delicious and creamy soup to keep in your back pocket for when you’re feeling extra seasonal. I don’t like to toot my own horn but “TOOT -TOOT”! This recipe is SO GOOD! I’m not going to lie, it’s going to cost you a bit of clean up, but I promise the results are worth it! Velvety soup, warm and earthy aromas, and a crunchy, sweet topping…ummm, YES, PLEASE! A company worthy dish, sure to impress even your toughest critics! Your guests will love this one so much that they’ll feel obligated to clean the mess up afterwards. I promise not to tell them just how easy it was to make, that can be our little secret! Serves 4 *If doubling the recipe, use 2 baking trays to prevent over crowding of the roasted vegetables. For the Soup
For the Brittle
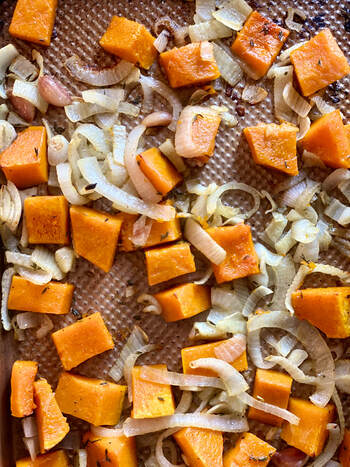
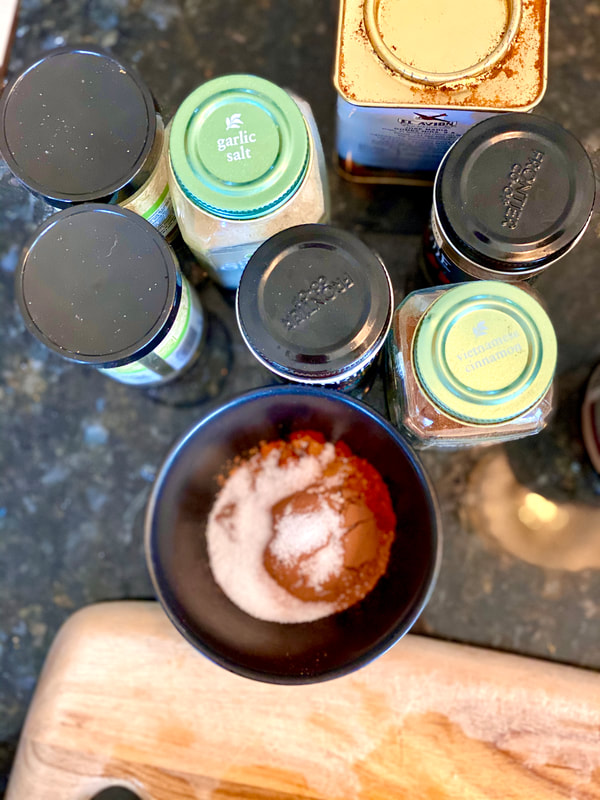
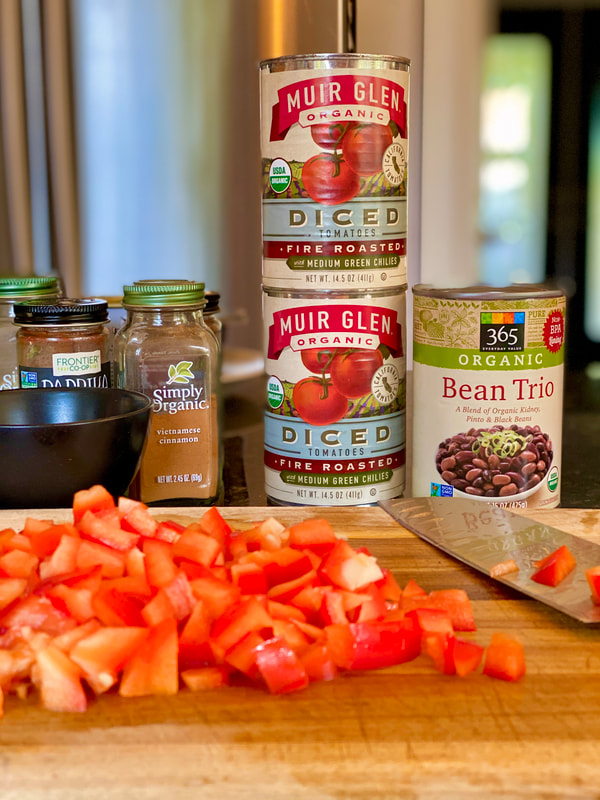
Preheat your oven to 400 degrees. In a large bowl, add the butternut squash, onion, fennel, garlic, thyme, olive oil, salt and pepper and toss until the vegetables are nicely coated. Evenly spread the mixture onto a rimmed baking sheet. Roast in the oven for 15 minutes, remove and toss to make sure everything is cooking evenly. Place the tray back into the oven and roast for another 15 minutes. Remove the baking tray from the oven, pick out the three garlic cloves and set them aside. Carefully scrape the rest of the vegetable mixture into a large Dutch oven set over medium heat. Add the sherry, bay leaf and squeeze the roasted garlic cloves into the pot, discarding the skin. Let the mixture simmer for 3-5 minutes until the sherry cooks down a bit, then add the chicken stock. Continue to simmer for another 10 -15 minutes. While the soup is simmering, make the brittle. In a small pan over medium low heat, add the pistachios, butter and cinnamon. Shimmy the pan around until the mixture becomes fragrant, this should only take a few minutes. Pour in the maple syrup and keep shimmying the pan as it bubbles for 1 minute. Sprinkle in a pinch of salt and a grind of pepper and give it one more shimmy. Pour the brittle onto a plate or small tray and use a rubber spatula to evenly spread out the mixture. Set aside to cool. Remove the bay leaf from the pot and discard. (DON'T FORGET THIS STEP!! THE BAY LEAF WILL RUIN YOUR SOUP IF IT ENDS UP IN THE BLENDER!!) Carefully ladle the hot soup mixture into a blender...did you take out the bay leaf...do it now! Puree the soup until smooth (leave the vent of the blender off to allow steam to escape but place a clean dish towel over the opening to prevent splatter). Pour the soup back into the pot, you can turn the heat off at this point or set it to the lowest setting to keep warm. Stir in the Crème Fraiche, reserving a few tablespoons for serving. Once the Brittle has cooled and hardened, break it apart with your hands. Ladle the soup into bowls and swirl in a spoonful of the reserved Crème Fraiche and a sprinkle of the pistachio brittle, serve immediately and enjoy! 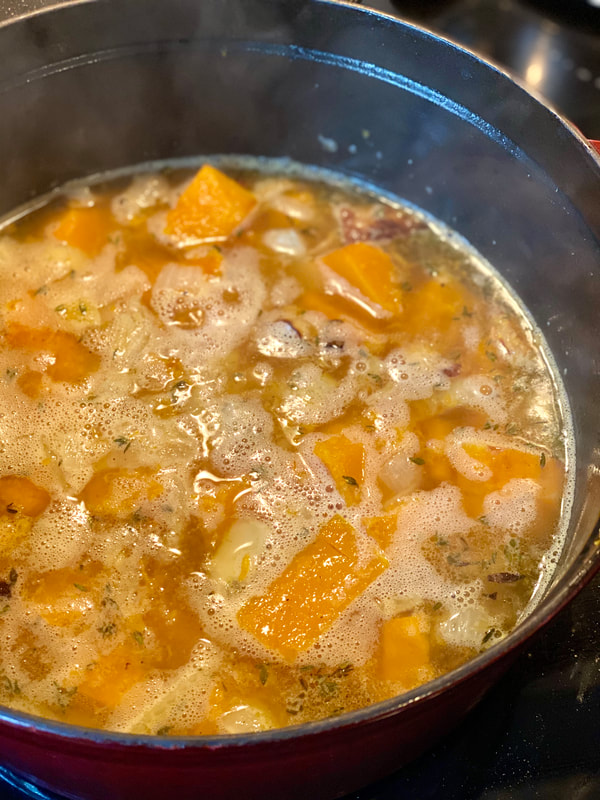 by Ashley Fagan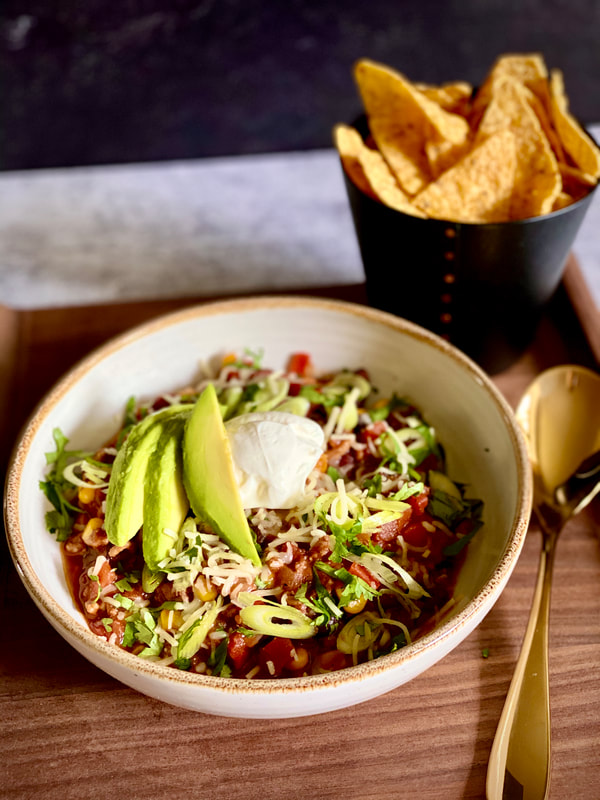 Once the weather turns from humid Summer days to crisp Fall nights, my mind immediately shifts to all things cozy and comforting. I’m not ashamed to admit that I love all things “basic” when it comes to the Autumn season. Cozy sweaters, warm boots, chunky scarves and of course, anything pumpkin spiced! The Fall vibes don’t stop at my attire, but they consume my cooking habits as well. You can find me whipping up all sorts of soul satisfying comfort food including soups, stews, spiced cakes and of course, CHILI! I love creating different variations of chili throughout Fall and Winter but this easy, weeknight friendly version is one I turn to repeatedly. It’s smoky, sweet, and slightly spicy flavor is, in my opinion, the perfect Chili trifecta! I use ground turkey here instead of a traditional ground beef, but you can certainly improvise by using your favorite ground meat. Ground chicken or pork would also be a welcome addition! When shopping for your ingredients, look for fire-roasted diced tomatoes that include green chilies. They are available in most supermarkets, but if you can’t find them, you can use regular diced tomatoes and add a small can of mild green diced chilies instead, which can be found in the same aisle as the taco ingredients. I also like using a can of mixed chili beans here so that you get a nice texture and flavor balance. Chili beans typically include a mix of black beans, pinto beans and kidney beans but if you can’t find a can of the mixed variety, you can choose your favorite to add instead. Be careful not to accidentally buy canned chili! You want canned chili beans. Big difference! Canned chili beans do not include additional ingredients. Have fun with this recipe! It’s very forgiving and incredibly versatile! You can also easily double the recipe to feed a crowd or use it to top a big plate of nachos, which is something we do often on Friday’s for our Family Movie Dinner Night! I would love to hear how this recipe turned out for you! Drop me a comment below to let me know how you adapted the recipe.
Heat a large Dutch oven over medium heat and add the olive oil. Add the diced onion and sauté for 5 minutes until they begin to appear translucent. Add the diced bell pepper and a pinch of salt and continue to sauté for another 5 minutes until they begin to brown slightly. Add the garlic and stir for another minute or until it becomes fragrant Add the ground turkey and spice blend, breaking up the turkey meat and stirring to combine. Cook for another 5 minutes until the turkey is mostly cooked through. Add the canned tomatoes, chili beans, BBQ sauce and honey, stir to combine and bring to a simmer. Once simmering, reduce the heat to low, cover with a lid and cook for 25 -30 minutes, stirring occasionally. While the chili is cooking, prepare your toppings. After the 30 minutes, stir in the corn and let sit for another 5 minutes on the lowest heat setting. Serve in big heaping bowls with the toppings laid out so everyone can add what they want! Don’t forget a big pile of tortilla chips or a hunk of corn bread! 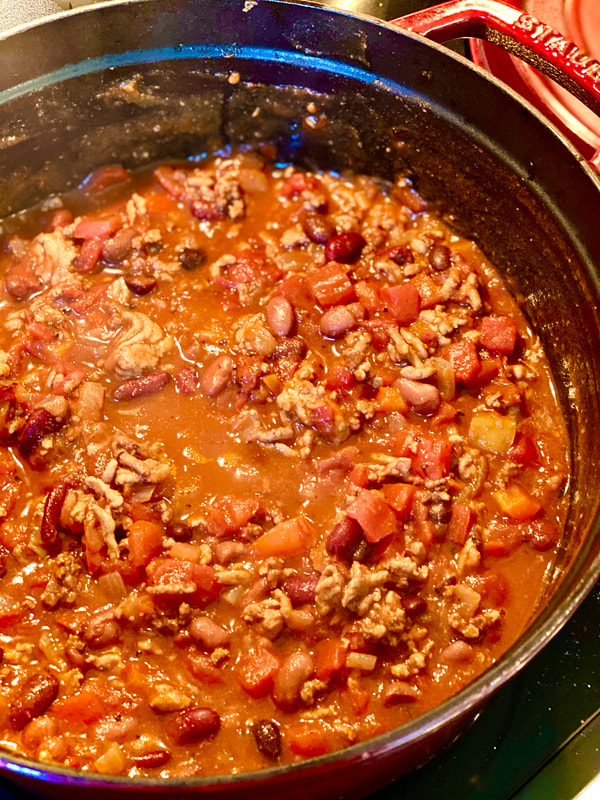 by Ashley Fagan  We've officially hit soup season! The temperature is dropping here in the North East and chilly Fall days call for something warm and comforting. Broccoli and cheddar are a classic flavor combination that has been a favorite of mine since childhood. The only way my mom could get me to eat my broccoli as a kid, was to coat it in gooey, yellow cheese sauce so that only a subtle hint of green could we detected underneath. I can’t really blame the child version of me, cheese will forever be a favorite of mine! This recipe is very reminiscent of the cheesy broccoli soup you can find at the popular food chain...we'll just say it rhymes with "Schmanara". I've upped the veggie content here and opted for a more sophisticated cheese in place of the processed yellow hunk of goodness my mom used to use. I like to use freshly grated, white sharp cheddar here but if you want to stick with the classic appeal, go with yellow cheese. I also cut the veggies into bite size pieces for easier mouthfuls and speed of cooking. Serve it up nice a hot and if you’re feeling extra cozy, eat it straight from a bread bowl! Enjoy! Serves 4 - 6
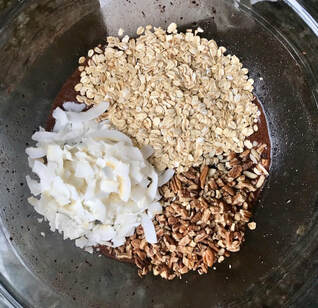
Bread Bowls or Hunks of Bread for serving In a large Dutch oven, over medium, heat, add the 2 T olive oil. Saute the onions for 3 minutes, until they start to soften. Add the diced carrots, celery, salt and pepper and continue to cook for another 3 minutes. Over medium-low heat, add the butter to the pot of veggies. Once melted, stir in the flour (this will create your roux, which thickens the soup) and cook for another 1-2 minutes, stirring constantly. Slowly add the chicken broth to the pot while stirring constantly to evenly incorporate the roux mixture without lumps. Add the chicken base and bay leaf to the soup and bring to a simmer. Simmer the soup over low heat for 10 minutes with the lid ON. Remove the lid and add the potatoes and cauliflower. Continue to simmer with the lid OFF for another 5-7 minutes. Now add the diced broccoli and continue to cook for another 5 – 10 minutes until the broccoli softens but remains a vivid green color. Stir in the cheese and cream until melted and the soup becomes thick and creamy. Remove the pot from the heat and serve immediately with toasted bread or in a bread bowl! by Ashley Fagan  I just love Halloween! Everything about this Holiday just screams FUN! The month of October is an all out Autumn celebration full of Fall walks, Halloween movie nights, hot apple cider, toasty fire side s'mores, and of course lots of delicious Halloween inspired treats! These one bite, no bake pumpkin cheesecakes are the perfect treat to help celebrate the holiday season! They are tasty, super simple and take all of 20 minutes to put together! Happy Halloween! Makes 30 Ghosts Pumpkin Cheesecake Filling 2 – 8 oz. Packages Cream Cheese at Room Temperature 1 cup Pumpkin Puree ¾ cup Sugar 2 tsp. Vanilla Extract 3/4 tsp. Cinnamon 1/4 tsp Ground Ginger Pinch of Ground Cloves Pinch of Salt To Make The Mini Ghosts 2 – 15 Count Packages Store Bought Mini Fillo Shells, Thawed. (in the freezer section) 1 Gallon Size Ziploc Bag Mini Chocolate Chips or White Chocolate Chips In a large mixing bowl combine all ingredients through salt. Using a hand-held electric mixer, mix on medium speed until nice and creamy. Use a rubber spatula to scrap down to the bottom of the bowl to ensure all ingredients are incorporated. Give it one more mix with the electric mixer. Using the rubber spatula, transfer the batter to the large Ziploc bag and zip it closed, ensuring all the air is removed. Cut a small tip off the bottom corner of the bag. Pipe the mixture into the individual fillo shells, be careful not to over stuff them. Once all the shells are filled, decorate the pumpkin ghosts with the mini chocolate chips. Refrigerate until ready to serve and enjoy! by Ashley Fagan photo credit @kitchencoma via InstagramI am slightly obsessed with granola. Not that store bought, card board textured, unappealingly bland nonsense you buy in the supermarket of course! Granola is so simple to make at home and SO MUCH BETTER then anything you can buy off a shelf! This lovely homemade, protein rich, whole grain, subtly sweet, slightly salty, crunchy little bite sized bits of deliciousness is so good you'll find it hard to find an excuse not to eat it throughout your entire day, hence the name "Anytime Granola". Whether it be post morning workout, afternoon lunch or late night snack, this granola is sure to be a new favorite in your home!
Makes about 6 cups prepared 2 Egg Whites 1/4 Cup Pure Maple Syrup 3 T. Olive Oil 1 Tsp. Vanilla Extract 1 Tsp. Cinnamon 1/2 Tsp. Kosher Salt 1/2 Tsp. Ground Ginger 1/2 Tsp. Turmeric 1 1/2 Cups Rolled Oats 1 Cup Unsweetened Coconut Flakes 1/2 Cup Pecan Pieces 1/2 Cup Slivered Almonds 1/2 Cup Pumpkin Seeds 1/3 Cup Millet 2 T. Sesame Seeds 1/2 Cup Dried Cranberries Preheat the oven to 325 degrees. Line a rimmed baking sheet with parchment paper. In a large mixing bowl, whisk together the egg whites through turmeric until well combined. Add the oats through sesame seeds and stir together with a rubber spatula until everything is nicely coated. Pour the mixture onto the parchment lined baking sheet and spread out in an even layer using a rubber spatula. Place the baking sheet in the center of the oven and set your timer for 15 minutes. Remove the granola from the oven and give it a good toss with the rubber spatula then spread back out into an even layer. Return the baking sheet to the oven for another 15 minutes then remove and toss again. Finish the granola for another 10 minutes then remove from the oven and rest until completely cool. Add the dried cranberries and store in an airtight container for up to 1 week. My favorite way to eat this lovely granola is piled on top of unsweetened Greek yogurt with a handful of fresh blueberries and a drizzle of local honey! Yum! by Stephanie Spickler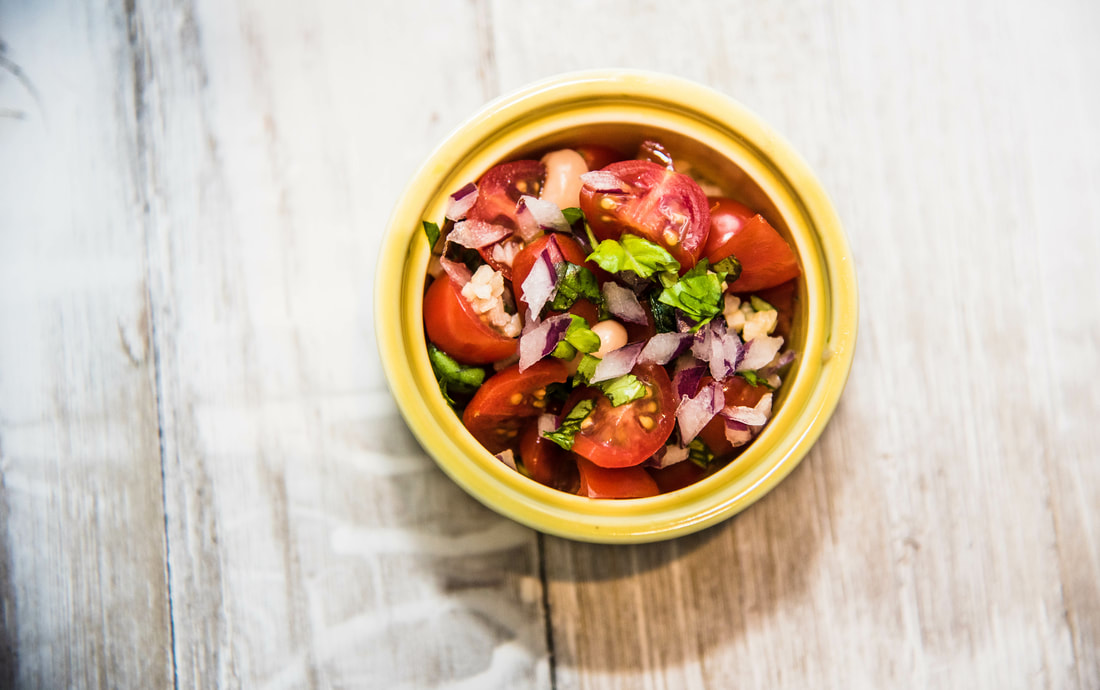 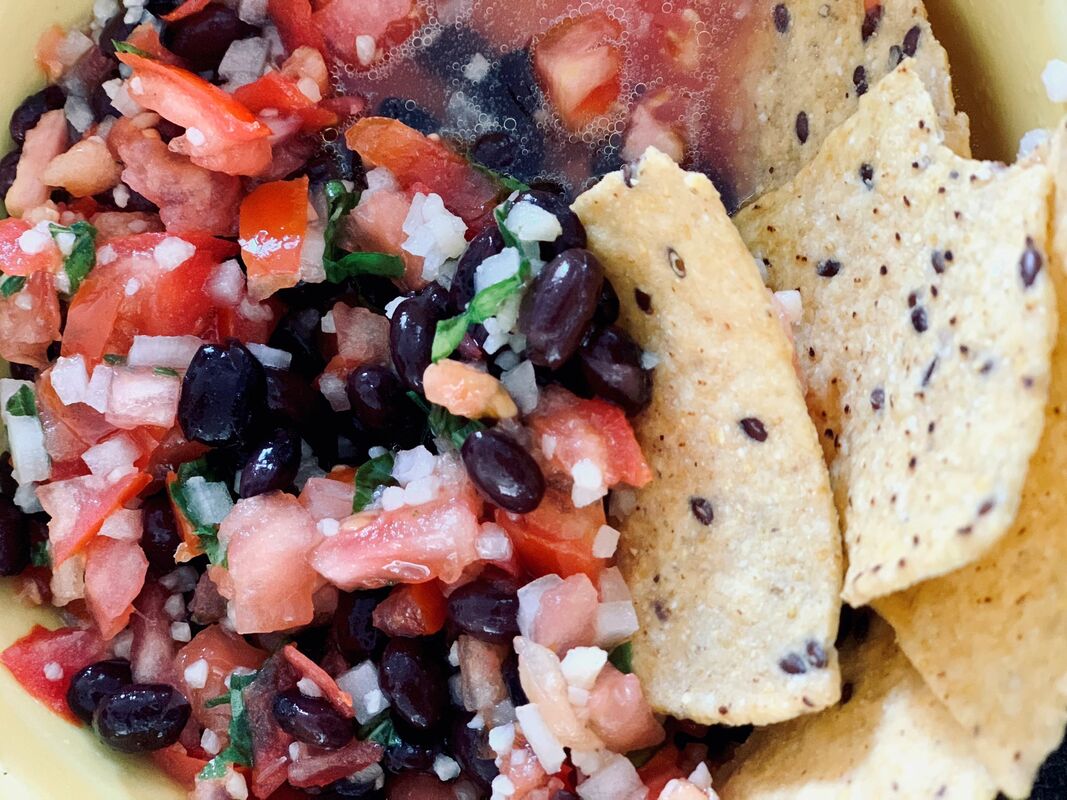 Calling all Salsa lovers…. Calling all Chips & Dip lovers ..
Calling all super-food & snack lovers .. Ever wonder if there’s a way to marry super-foods with your favorite (typically unhealthy) snack foods? Well, good news - there is! If you love salsa, dips & super-foods, this quick fix “dip” list is for you! Traditional mild salsa. For a fresh flavorful, traditional mild salsa. I highly recommend trying this recipe! Tomatoes are a great source of lycopene which has been linked to reducing heart disease and cancer. They are also a great source of vitamin C, potassium, folate and vitamin K to keep you immune system healthy and your skin looking great! You can pick what type of tomato you would like to use as your main ingredient and the rest is easy Prep time is about 5 minutes. You can grab your favorite “salsa” bowl and just add ingredients one by one, stir it up well before serving. Refrigerate any leftovers.
For a spicy version, add chopped jalapeños! I love a good kick so when I spice mine up I use about ½ of the jalapeño - my husband prefers I use way less but you can add to your own taste preference! Eat your “Protein” Salsa This recipe will not disappoint! Not only is it one of the BEST homemade bean recipes, it’s quite delicious and borderline addictive by itself, or as a bean salad or when you pile it on top of blue corn chips as a salsa. This is the most scrumptious, healthy snack, great for busy moms in need of quick, nutritious mom fuel! Serve as a snack - solo or with corn chips. Top your tacos on Taco Tuesday or dress up a salad southwestern style!
Chicks & Dip Chick Peas as a snack dip? Weird combo? Not when you try this amazing, zesty chip dip! As a salsa lover and health junkie, I had to create my now unique salsas & dips because I just don't want to eat that junk from the grocery stores and I need something full of nutrients, not corn syrup and preservatives. I am a busy stay at home mom and when we eat, I need to make sure we eat healthy. So, I’ve perfected the Chicks & Dip ..and bonus, my toddlers love it too! I personally opt for Blue Corn Chips or naan bread to pair with this recipe but you can get creative, try some crackers! Switch it up, get funky. Enjoy it how you like it! As an added bonus, chick peas are a rich source of iron, fiber and protein to help your little ones grow big and strong!
Grab some pita or naan bread & enjoy! Beans & Couscous This delightful and light blend is sure to fill you up & recharge your fuel levels. It’s packed with protein & vitamins and rich in beta carotene to boost your immunity!
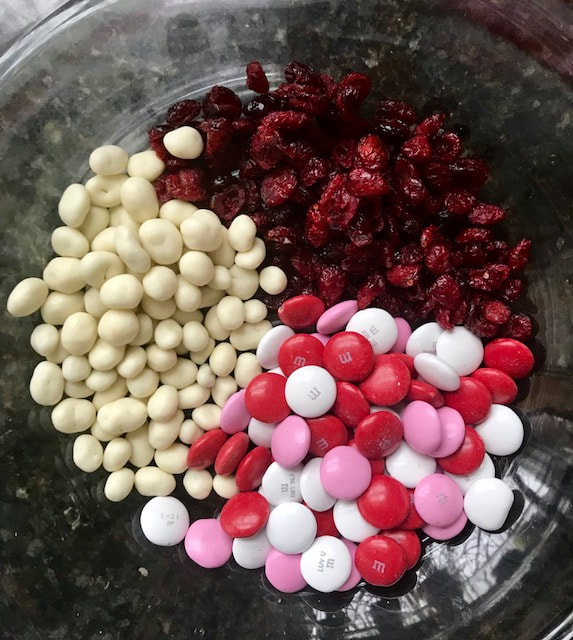
I enjoy eating this by itself and topped with diced cherry tomatoes and drizzled Carter & Cavero Balsamic vinegar. This is a great sandwich topper! Get creative, mix it up and make your own variation of a super-food dip! Feed your body the good stuff! by Ashley Fagan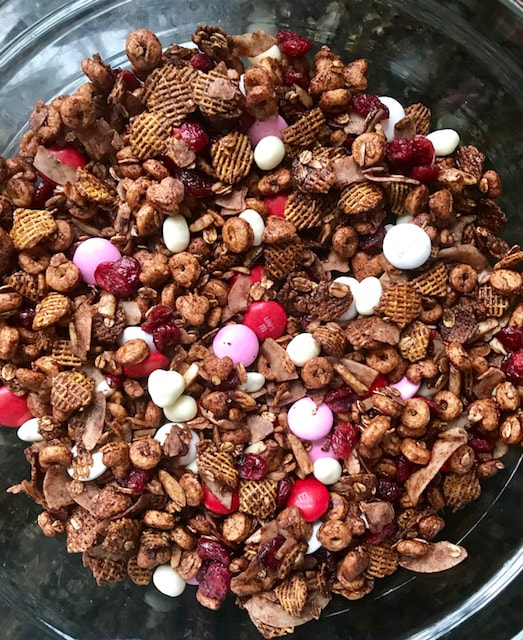 Looking for a healthy alternative for your little one to hand out this Valentine's day? This Love Munch is the perfect chocolaty treat that will satisfy any sweet craving. You wont miss that sticky, sugary candy one bit! Feel free to play around with the ingredients. Maybe some sunflower seeds or chocolate chips would be a nice addition. It's totally up to you! Go crazy!
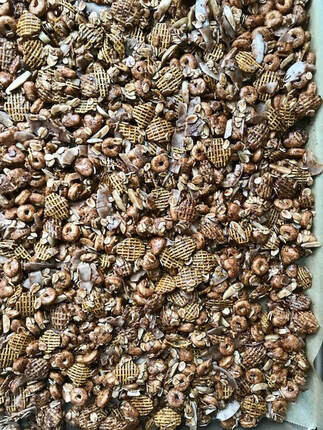
Makes about 12 Cups
Preheat the over to 300 degrees. Line a rimmed baking sheet with parchment paper and set aside. In a large bowl, whisk together the egg whites through maple syrup. Dump in the almonds, coconut, cereal and oats and gently fold together until the mixture is evenly coated. Pour the mixture onto the parchment lined baking sheet and spread out into an even layer. Bake at 300 degree, stirring every 10 minutes for a total of 30 to 40 minutes or until the cereal is toasted. It still may appear a bit wet, that's OK! It will crisp up as it cools. Allow the mixture to cool completely, at least 30 minutes. Once the mixture is cool, add the craisins, yogurt raisins and M&M's and gently fold together. Store in an airtight container for up to 5 days. by Ashley Fagan Looking for a change to your morning breakfast routine! Warm spices and subtly sweet delicate crumbs make for the perfect morning pick me up! These muffins are packed full of heart healthy oats, protein rich Greek yogurt and sweet carrots which are an excellent source of beta-carotene, potassium and antioxidants to give you the boost you need to get through the morning rush. Don’t skimp on your morning fuel! Keep a few of these on hand the next time you need a little something more than coffee to get you going. Makes 12 Muffins
Preheat the oven to 350 Degrees. Line a 12-cup muffin pan with liners. In a large bowl, mix together the flour through ground clove and set aside. In a liquid measuring cup whisk together the sugars, yogurt, applesauce, vanilla and egg until combined. Whisk in the melted butter and then add the wet ingredients to the bowl of dry ingredients. Using a rubber spatula, fold together the wet and dry ingredients until combined. The batter will be thick and sticky. Fold in the grated carrot, chopped walnuts and raisins. Evenly divide the batter among the 12 muffin cups, about 1/3 cup batter per muffin. The cups will be full but don't worry. Bake in the center of the oven for 25-30 min, checking after the 25-minute mark by inserting a toothpick into the center muffin. When the toothpick comes out clean and the tops are lightly browned they are done. Cool for 10 minutes in the pan and then transfer to a cooling rack. They are best eaten right after baking but you can also store them in an airtight container for up to 4 days. Serve with butter and honey for an extra special treat! by Ashley Fagan 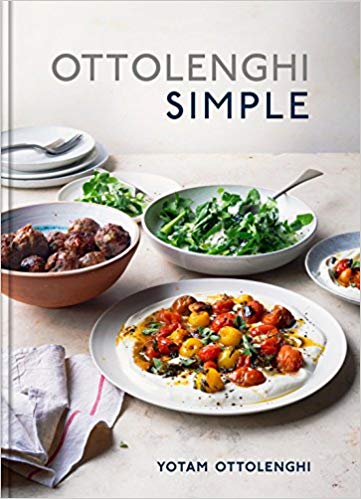 Kitchen Coma is proud to introduce the Kitchen Coma Cooking Club! It's a new year and that means time for new resolutions! Our New Years Resolution is to expand our knowledge of food and challenge ourselves in the kitchen so that we can create wholesome dishes to share with those who we love! We see less focus on spending time in the kitchen in today's society. Whether it be lack of time or lack of motivation, we want to encourage all of our followers to cook more! Cooking is good for your mind, body and soul! It opens our eyes to other cultures, teaches us patience and persistence and helps bring one another together! And let's not forget that our efforts also result in a delicious and tasty meal we can indulge in! Make a change this new year and challenge yourself to eat foods that you prepare yourself. The Cooking Club will officially kick off February 1st 2019 with the Cookbook Ottolenghi Simple by Yotam Ottolenghi. If you don't want to limit yourself to just one book you can also choose to participate in February by posting your recipes that include our ingredient of the month, Citrus! Yotam Ottolenghi is a well known restaurateur, food writer, cookbook author and industry innovator, having written 5 bestselling cookbooks! Ottolenghi Simple is his latest book featuring simplified versions of some of his favorite dishes. Ottolenghi lives in England with Israeli roots which makes his food unique and incredibly delicious! We can't wait to dive into this book! Our ingredient of the month is Citrus! Citrus is widely available during the Winter season and comes in many forms, from lemons to oranges, grapefruits to Pomels! Your options are endless! Make sure you are choosing recipes that are accessible to other members and posting your sources when sharing your creations! So, how do you participate? Members will post in our private Facebook group the recipes they’ve made from our featured Cookbook each month or a recipe that includes our ingredient of the month! The books and ingredients will rotate seasonally and will be voted on each month by our Kitchen Coma Cooking Club Members! To learn more about how to participate click here. We look forward to seeing all of the delicious food everyone will be making! Happy Cooking Everyone! |