by Ashley FaganMakes 24
Materials:
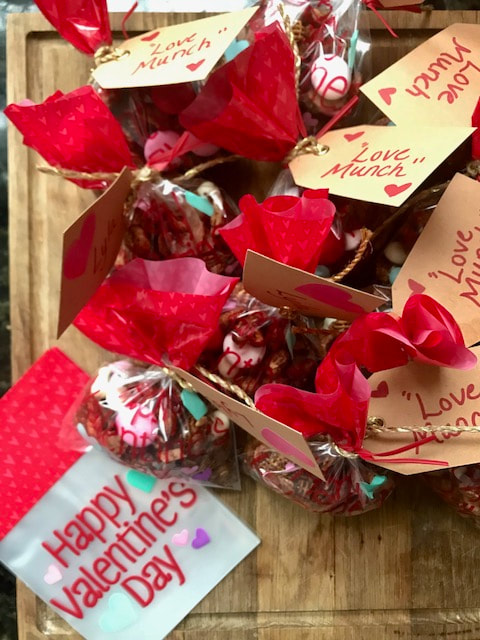
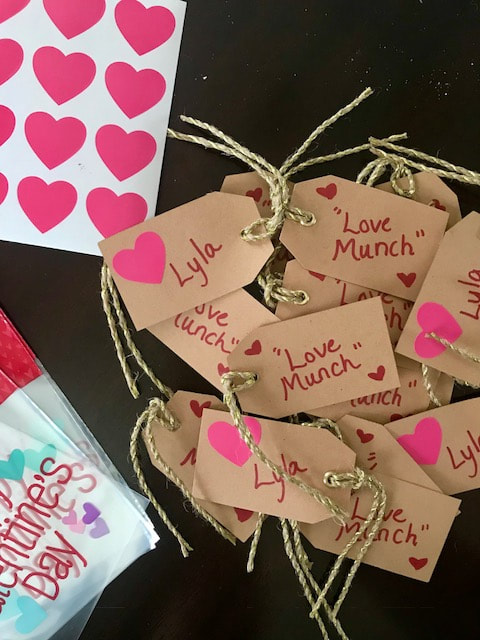
Step 1: Use the stickers and marker to personalize your gift tags. Depending on the age of your child, you may or may not need to help out. Step 2: Scoop 1/2 cup of trail mix into each bag and secure with a twist tie. Step 3: Tie the gift tags to each bag. THAT'S IT! YOU'RE DONE! And in the words of my idol Ina Garten, "How easy was that?!"
0 Comments
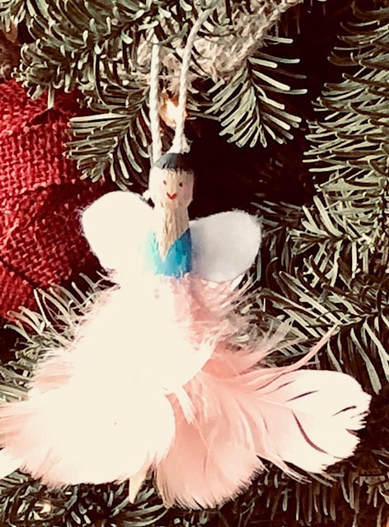
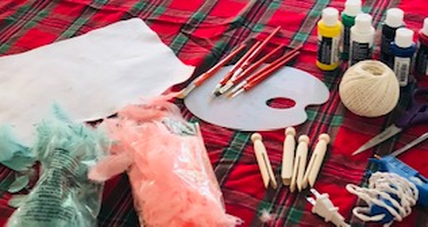
by Leah VegotskyIf you’re a crafter like me or simply looking for a weekend activity to occupy your kids, these vintage inspired fairy ornaments are the perfect Holiday DIY project. This craft is intended for older children. I thought it would be a great idea to do with my 3 and 1 year old. Let’s just say it did not turn out well. But hey, they had fun making a mess and being creative so that’s all that matters! Supply List
To make things simple, I bought everything besides the clothes pins from Hobby Lobby. I found the clothes pins on amazon here. 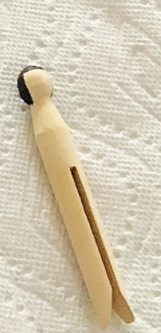 Directions Step 1: Paint hair - I chose to keep it simple and make the hair kind of blockish (whatever color you want). I think this gives them an antique look. 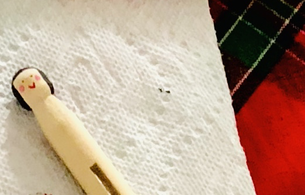 Step 2: Paint eyes and mouth - do not stress about it being perfect. I also made rosie cheeks. 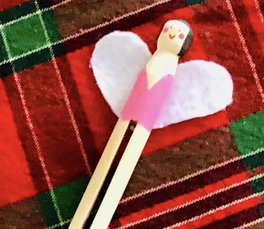 Step 3: Paint a shirt - I rounded the edges trying to create shoulders. Step 4: Let dry for 10 mins 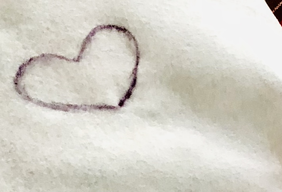 Step 5: Cut out the wings using felt - I made a heart and cut around that, then flipped them over so you don’t see the black lines. I then glued the wings to the fairy’s back. 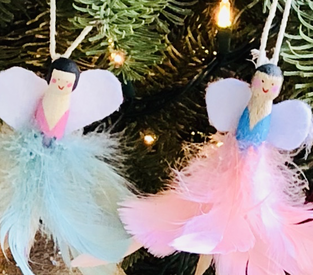 Step 6: Cut tips off feathers - this makes gluing them easier and glue feathers creating a waist on your fairy. 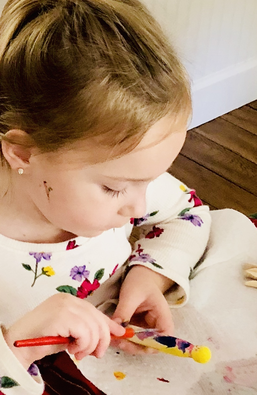 This picture is for cuteness! My 3 old Mackenzie, working so hard! Merry Christmas! |
FEATURESOur highlights on what's relevant. Featuring Holiday tips, current media topics and our Female of The Month. Archives
April 2019
Categories
All
|

 RSS Feed